Are you wondering if your car speakers are living up to their full potential, or if there’s a hidden issue that’s been affecting your audio experience? Testing a car speaker with a multimeter can unveil the truth.
Imagine cruising down the road, enveloped in rich, flawless sound. That dream is within your reach, and it starts with a simple diagnostic tool you may already have in your toolkit. In this guide, you’ll discover how to use a multimeter to assess the health and performance of your car speakers.
Whether you’re a seasoned DIY enthusiast or new to the world of car audio, this process is straightforward and incredibly rewarding. You’ll be empowered with knowledge, ensuring that each note and beat you hear is as crisp and clear as it should be. Stick with us, and soon, you’ll have the confidence to diagnose and perhaps solve any speaker issues, unlocking the full audio experience you deserve.
Credit: caraudioradar.com
Tools Needed
A multimeter and speaker wires are essential to test a car speaker. Ensure the multimeter is set to measure resistance.
Testing a car speaker with a multimeter is a straightforward task, but having the right tools can make a world of difference. Whether you’re a seasoned audiophile or a curious newbie, gathering the right equipment is crucial. Let’s dive into the essential tools you’ll need and why each plays a key role in ensuring your car speakers are functioning properly.Multimeter Basics
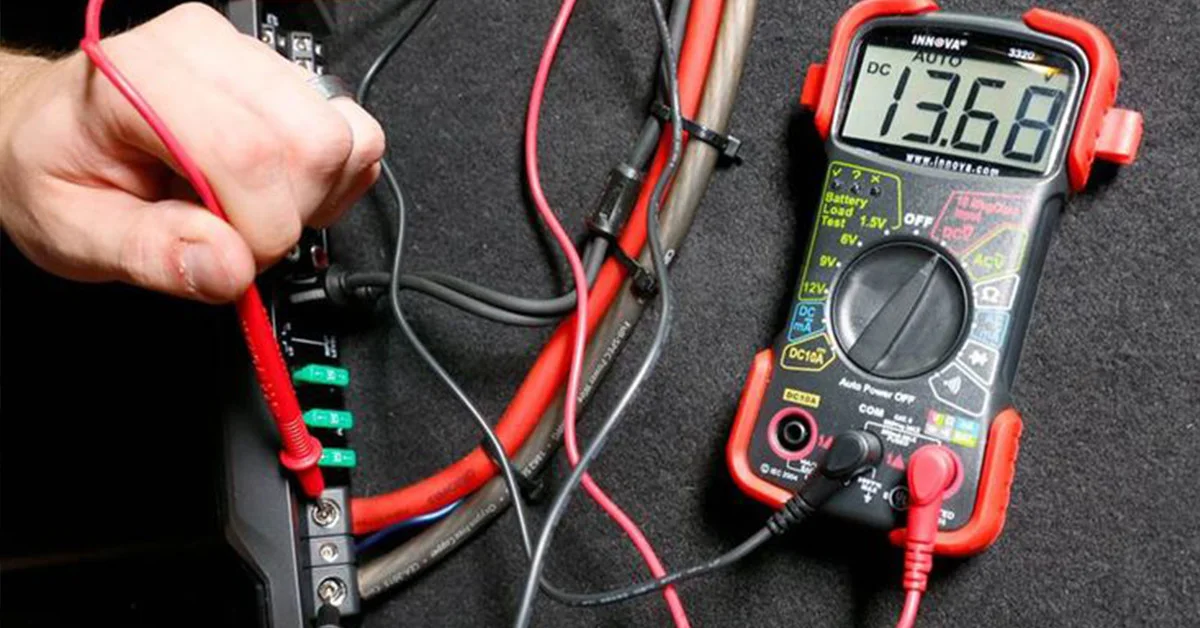
A multimeter is your primary tool for this task. It’s like the Swiss Army knife of electrical testing. You can measure voltage, current, and resistance. Choose a digital multimeter for ease of use and accuracy. Make sure it has a clear display and user-friendly controls.Understanding how to set your multimeter to measure resistance is vital. If you’re unsure about the settings, consider watching a tutorial or reading the manual. It’s important to handle this tool correctly to avoid any mishaps.Safety Equipment
Safety comes first. You don’t want any electrical shocks, right? Wear protective gloves to avoid direct contact with electrical components. It’s also wise to use goggles for eye protection.Remember, even in a car, electrical systems can surprise you. Being prepared with the right safety gear can prevent accidents. Think of it as a small investment for peace of mind while working.Additional Tools
You might need a few more items to complete this task efficiently. A screwdriver will help you access the speaker and any panels that might be blocking your path. Having a flashlight can be a game-changer, especially in dimly lit car interiors.Consider the possibility of needing replacement parts. If your speaker isn’t functioning well, a spare set of wires or connectors might come in handy. It’s always good to be prepared for the unexpected.Testing your car speaker can be a fun and rewarding process. Have you ever wondered if your speaker’s performance could be improved with just a quick check? With the right tools, you can ensure your sound system is always at its best. Keep your equipment organized and ready for action, and the testing process will be smooth sailing!Preparing The Speaker
Testing car speakers with a multimeter ensures optimal performance. First, disconnect the speaker from the car. Next, set the multimeter to measure resistance. Finally, check the reading against standard values to verify speaker health.
Testing a car speaker with a multimeter is a straightforward process, but it requires some preparation to ensure accurate results. Getting your speaker ready is a crucial first step. By carefully disconnecting the speaker and inspecting its physical condition, you set the stage for a smooth testing process. Let’s dive into the nitty-gritty details of preparing your speaker.Disconnecting The Speaker
Before testing, safely disconnect the speaker from your car’s audio system. Turn off your car’s ignition to avoid any electrical mishaps. Locate the speaker wires and gently unplug them.Using a small wrench or screwdriver, you might need to loosen any screws or clips holding the speaker in place. Be mindful of the connections and avoid pulling on the wires too hard. Ensure the speaker is free from any power sources to prevent shocks.Inspecting Physical Condition
Once disconnected, visually inspect your speaker for any signs of damage. Look closely at the speaker cone and surround for tears or wear. A damaged cone can affect sound quality and may need replacement.Check the terminals and wiring for corrosion or damage. Clean any dust or debris with a soft brush or cloth. A clean and intact speaker is more likely to give you accurate readings when tested.Have you ever found a hidden crack in a speaker that you didn’t notice at first glance? That small crack could be causing those frustrating sound distortions. Carefully inspecting your speaker can save you from unnecessary troubleshooting later.By thoroughly preparing your speaker, you pave the way for an efficient and effective testing process. What challenges have you faced while preparing your speaker for testing? Share your thoughts and let’s learn from each other’s experiences.Setting Up The Multimeter
To set up a multimeter for testing car speakers, start by selecting the correct measurement setting. Ensure the multimeter is set to measure resistance, usually denoted by the omega (Ω) symbol. Proper connection of the multimeter leads to the speaker terminals is essential for accurate readings.
Setting up a multimeter might sound intimidating at first, but it’s surprisingly straightforward. Whether you’re a car audio enthusiast or just curious about your speaker’s condition, getting the hang of this tool is invaluable. Imagine the satisfaction of knowing your speaker’s health without relying on professional help. Ready to dive in?###Selecting The Right Mode
Your multimeter is like a Swiss Army knife for electrical testing, but you need to pick the right tool for the job. For testing a speaker, you’ll want to set your multimeter to measure resistance, often denoted by an “Ω” symbol. This mode will help you check the speaker’s continuity and impedance.Think of it as tuning your radio to the right station; if you select the wrong mode, your results might be confusing. Ensure your multimeter is set to the resistance mode before proceeding.###Adjusting The Multimeter Settings
Once you’ve selected the resistance mode, it’s time to adjust the range settings. If your multimeter is auto-ranging, you’re in luck as it will automatically select the appropriate range. However, if you need to manually set the range, choose one that is slightly higher than the expected resistance of your speaker, usually between 4-8 ohms.Just like adjusting the volume on your stereo, setting the range correctly ensures that your readings are accurate. If your multimeter reads 1 or OL, your range might be too low.Have you ever wondered why your car speaker sounds off? Understanding multimeter settings can offer insights into potential issues. Proper adjustments can reveal whether your speaker’s resistance is within expected values or if there’s a fault you need to address.By mastering these settings, you’re empowered to diagnose your car audio system with confidence. How satisfying is it to solve a problem on your own and ensure your speakers are in top condition?
Credit: sonicnook.com
Testing Speaker Continuity
Testing car speaker continuity with a multimeter involves checking for electrical flow. Set the multimeter to the ohms setting, then connect its probes to the speaker terminals. A reading confirms continuity, indicating the speaker is functional.
Testing speaker continuity is crucial. It ensures your car speakers function properly. A multimeter helps check this. You can spot issues before they worsen. Let’s explore how to test speaker continuity with a multimeter.Connecting The Multimeter
First, set your multimeter to the continuity setting. This setting resembles a sound wave icon. It helps detect electrical flow. Next, connect the multimeter probes. Place the red probe on the speaker’s positive terminal. The black probe goes on the negative terminal. Ensure a firm connection. Loose connections can yield inaccurate results.Interpreting Continuity Results
Listen for a beep from the multimeter. A beep indicates continuity. This means the speaker is working well. No beep suggests an issue. The speaker might have a broken coil or wire. Replace faulty components as needed. Keep testing until you ensure speaker functionality.Measuring Speaker Impedance
Testing car speakers with a multimeter can reveal important details. One key aspect is measuring speaker impedance. This value helps gauge the speaker’s resistance to the current. Knowing this can aid in diagnosing speaker issues. It also helps in ensuring compatibility with your car’s audio system. Understanding and testing impedance is simple with the right steps.
Understanding Impedance Values
Impedance is measured in ohms. Common car speakers have 2, 4, or 8-ohm ratings. These values indicate how much the speaker resists electrical flow. A correct impedance ensures optimal sound performance. It also prevents damage to your audio system. Always know the ideal impedance for your system.
Performing Impedance Test
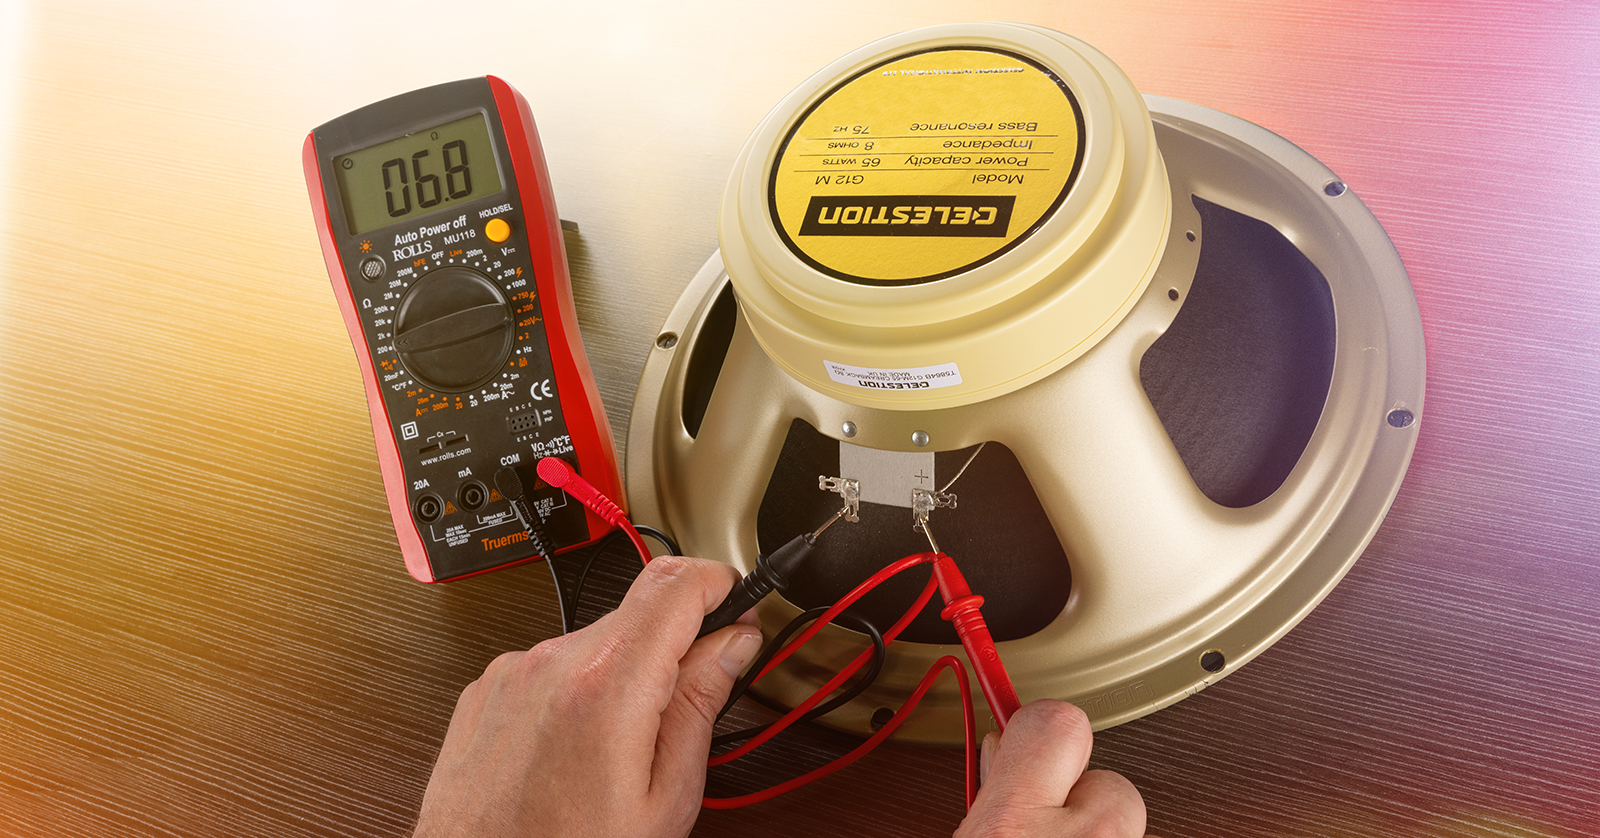
First, ensure your car’s audio system is off. Disconnect the speaker from the system. Set your multimeter to the ohms setting. Connect the multimeter probes to the speaker terminals. Read the value displayed on the multimeter. This number represents your speaker’s impedance. Compare this value to the speaker’s rated impedance. A slight variation is normal. Large differences may indicate a problem.
Credit: www.sweetwater.com
Troubleshooting Common Issues
Testing a car speaker with a multimeter helps identify issues. First, set the multimeter to the resistance setting. Then, connect the probes to the speaker terminals and check the reading.
Troubleshooting common issues with car speakers can save you time and money. You don’t need to be a tech wizard to figure out what’s wrong. With a multimeter, you can identify the problem and decide whether to fix it yourself or seek professional help. Have you ever wondered why your car audio suddenly sounds off? Let’s dive into some common issues you might face.Identifying Faulty Wiring
Faulty wiring is like a silent saboteur lurking in your car’s audio system. One day, as I was driving home, my speakers just stopped working. I grabbed my multimeter and started testing the wiring. It turned out a wire had come loose.Use your multimeter to check the continuity of the wires. Set it to the resistance mode, and test each wire connecting to the speaker. If there’s no reading or a very high resistance, you might have a broken or disconnected wire. This simple test can pinpoint the problem quickly. Have you ever checked your wiring and found a surprise?Detecting Voice Coil Problems
Voice coils are crucial for speaker performance. A friend of mine complained about distorted sound after installing new speakers. He was baffled until we tested the voice coils.To check the voice coil, switch your multimeter to the ohm setting. Measure the resistance across the voice coil terminals. A healthy voice coil should read between 2 to 8 ohms, depending on your speaker’s specifications. If the reading is far off, the voice coil might be damaged or burnt. This test is vital for ensuring your speaker performs optimally. Do you suspect your voice coil might be the culprit behind that distorted sound?By addressing these specific issues with a multimeter, you can troubleshoot your car speakers effectively. Your audio experience doesn’t have to be compromised by simple wiring problems or faulty voice coils. Are you ready to tackle these issues head-on?Ensuring Accurate Results
Testing a car speaker with a multimeter requires precision. Accurate results ensure your speaker functions correctly. Avoid issues like poor sound quality or speaker damage. Follow these steps to achieve reliable outcomes.
Calibrating The Multimeter
Start by calibrating the multimeter. Set it to measure resistance, usually in ohms. Ensure the multimeter is fully charged. A low battery might affect readings. Check the manual for specific calibration instructions. Confirm the multimeter is working properly. Test it with a known resistor. If readings match, proceed to test the speaker.
Re-testing For Consistency
Consistency is crucial in multimeter readings. Repeat the test multiple times. Each reading should be close to the previous one. This confirms the reliability of the test. If results vary significantly, check for connection errors. Ensure speaker terminals are clean. Use firm connections for accurate readings. A consistent pattern indicates the speaker’s health.
Safety Tips
Testing car speakers with a multimeter ensures they work properly. Set the multimeter to measure resistance. Check the speaker connections for continuity, ensuring readings fall within expected ranges for optimal performance.
Testing a car speaker with a multimeter requires caution. Safety must always come first. Proper precautions protect you and your equipment.Handling Electrical Components
Always turn off your car before testing. This prevents accidental shocks. Wear rubber gloves for extra protection. Ensure your multimeter is in good condition. Check for any visible damage. Avoid using faulty equipment. Keep your workspace dry. Water and electricity are a dangerous mix.Avoiding Speaker Damage
Set your multimeter to the correct settings. Use the ohm setting to test speakers. Incorrect settings can harm the speaker. Gently connect the multimeter probes. Avoid applying too much pressure. Excessive force can damage the speaker’s connections. Never use excessive voltage. It can destroy speaker components. Follow these steps to ensure your speaker remains undamaged. “`Frequently Asked Questions
How To Test Car Speakers With A Multimeter?
Set the multimeter to the ohms setting. Disconnect the speaker from the car. Touch the multimeter probes to the speaker terminals. A reading close to the speaker’s rated impedance confirms functionality. Zero or infinite reading indicates a faulty speaker.
What Setting On Multimeter To Test Speakers?
Set your multimeter to the “Ohm” setting to test speakers. Connect the probes to the speaker terminals. A typical reading should be between 4 to 8 ohms. This indicates the speaker’s impedance and confirms if it’s functioning correctly. Ensure the speaker is disconnected from any power source before testing.
How Do You Check Ohms On A Speaker With A Multimeter?
Turn off the speaker. Set the multimeter to ohms. Connect the probes to the speaker terminals. Read the displayed resistance value.
How To Test If A Car Speaker Is Blown?
Check for distorted sound or no sound at all. Listen for rattling or buzzing noises. Inspect for visible damage or tears. Test with a multimeter for resistance issues. Use a different speaker to compare sound quality.
Conclusion
Testing car speakers with a multimeter is straightforward. This tool helps you check speaker health easily. First, set the multimeter to ohms. Then, connect the probes to the speaker terminals. A reading between 4-8 ohms means your speaker is fine.
A zero or infinity reading suggests problems. Regular testing ensures optimal performance. It prevents surprises like distorted sound. Always handle the equipment carefully for accurate results. Testing speakers regularly saves money and time. Enjoy clear music in your car without stress.